Unreal Tournament: Xan - Env Work
Created entirely in Unreal Engine 5.3, the episode features real-time workflows spanning rigging, layout, animation, and FX. Rendering was achieved using Lumen, with ray-traced shadows and reflections wherever available.
____
I didn’t get to do much environment art on this project, focusing mostly on set dressing to the camera. However, here are some of the various environment art-related tasks I tackled throughout production.
I chose to stay in-engine as much as possible to test the limits of Unreal’s modeling tools and to improve my proficiency with them.

Bridge destruction for the Morpheus map: All modeling was done entirely using UE5's modeling tools, and the destruction was created using Chaos tools within the engine.


Facing Worlds interior destruction I created for my sequence: All destruction and modeling were done entirely in-engine using Chaos tools, along with displacement and UV work in Unreal. Staying in-engine allowed me to complete this surprisingly quickly—th

Early lighting test for the destroyed hallway to assess how materials and geometry interact with light.

Progressive 4-stage pillar destruction for the Skaarj vs. Xan sequence. This was a fairly quick turnaround—I began with Megascans assets as a base, used Chaos destruction tools in-engine to create the foundation, and added high-fidelity details in ZBrush

Sculpt of the pillar after the first shotgun impact.
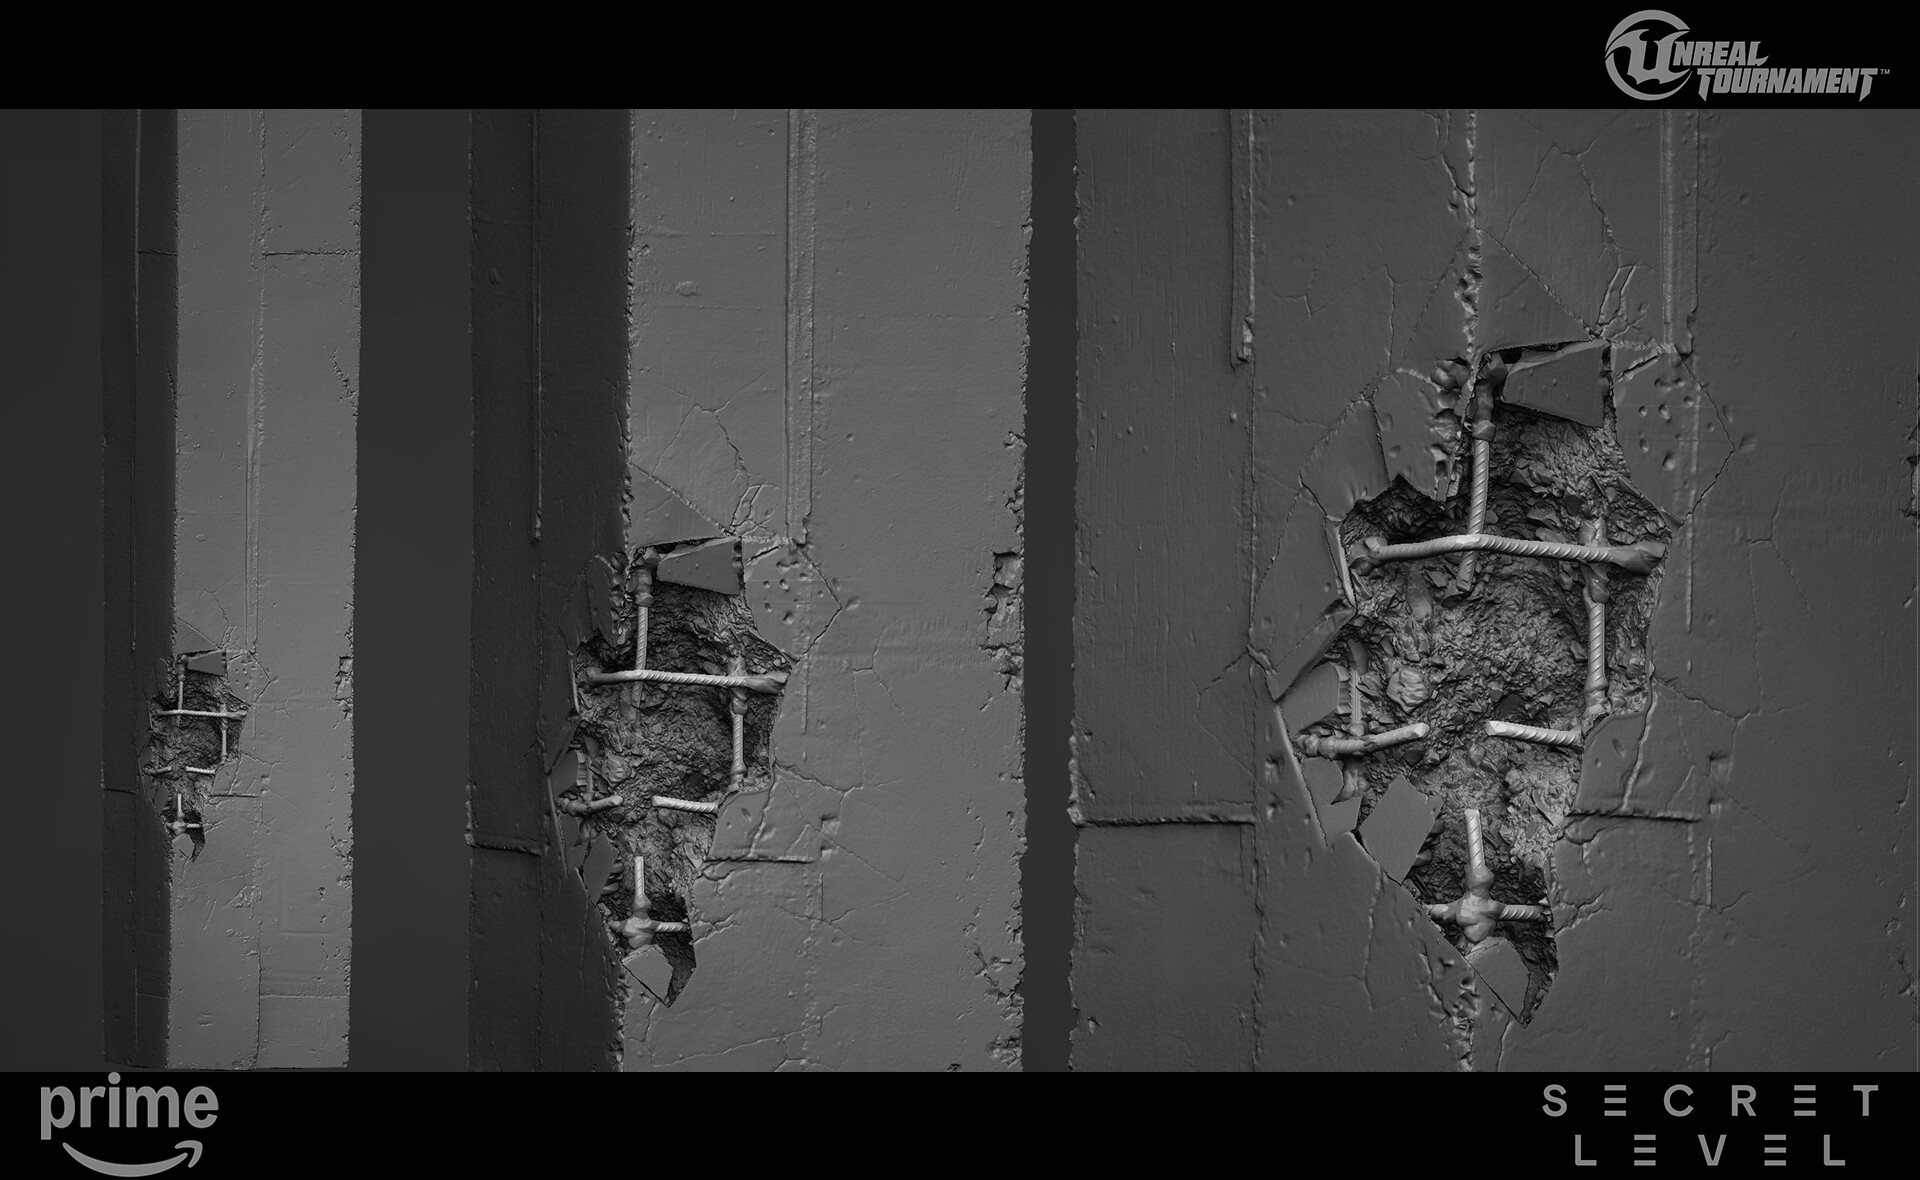

Final stage with the most destruction.
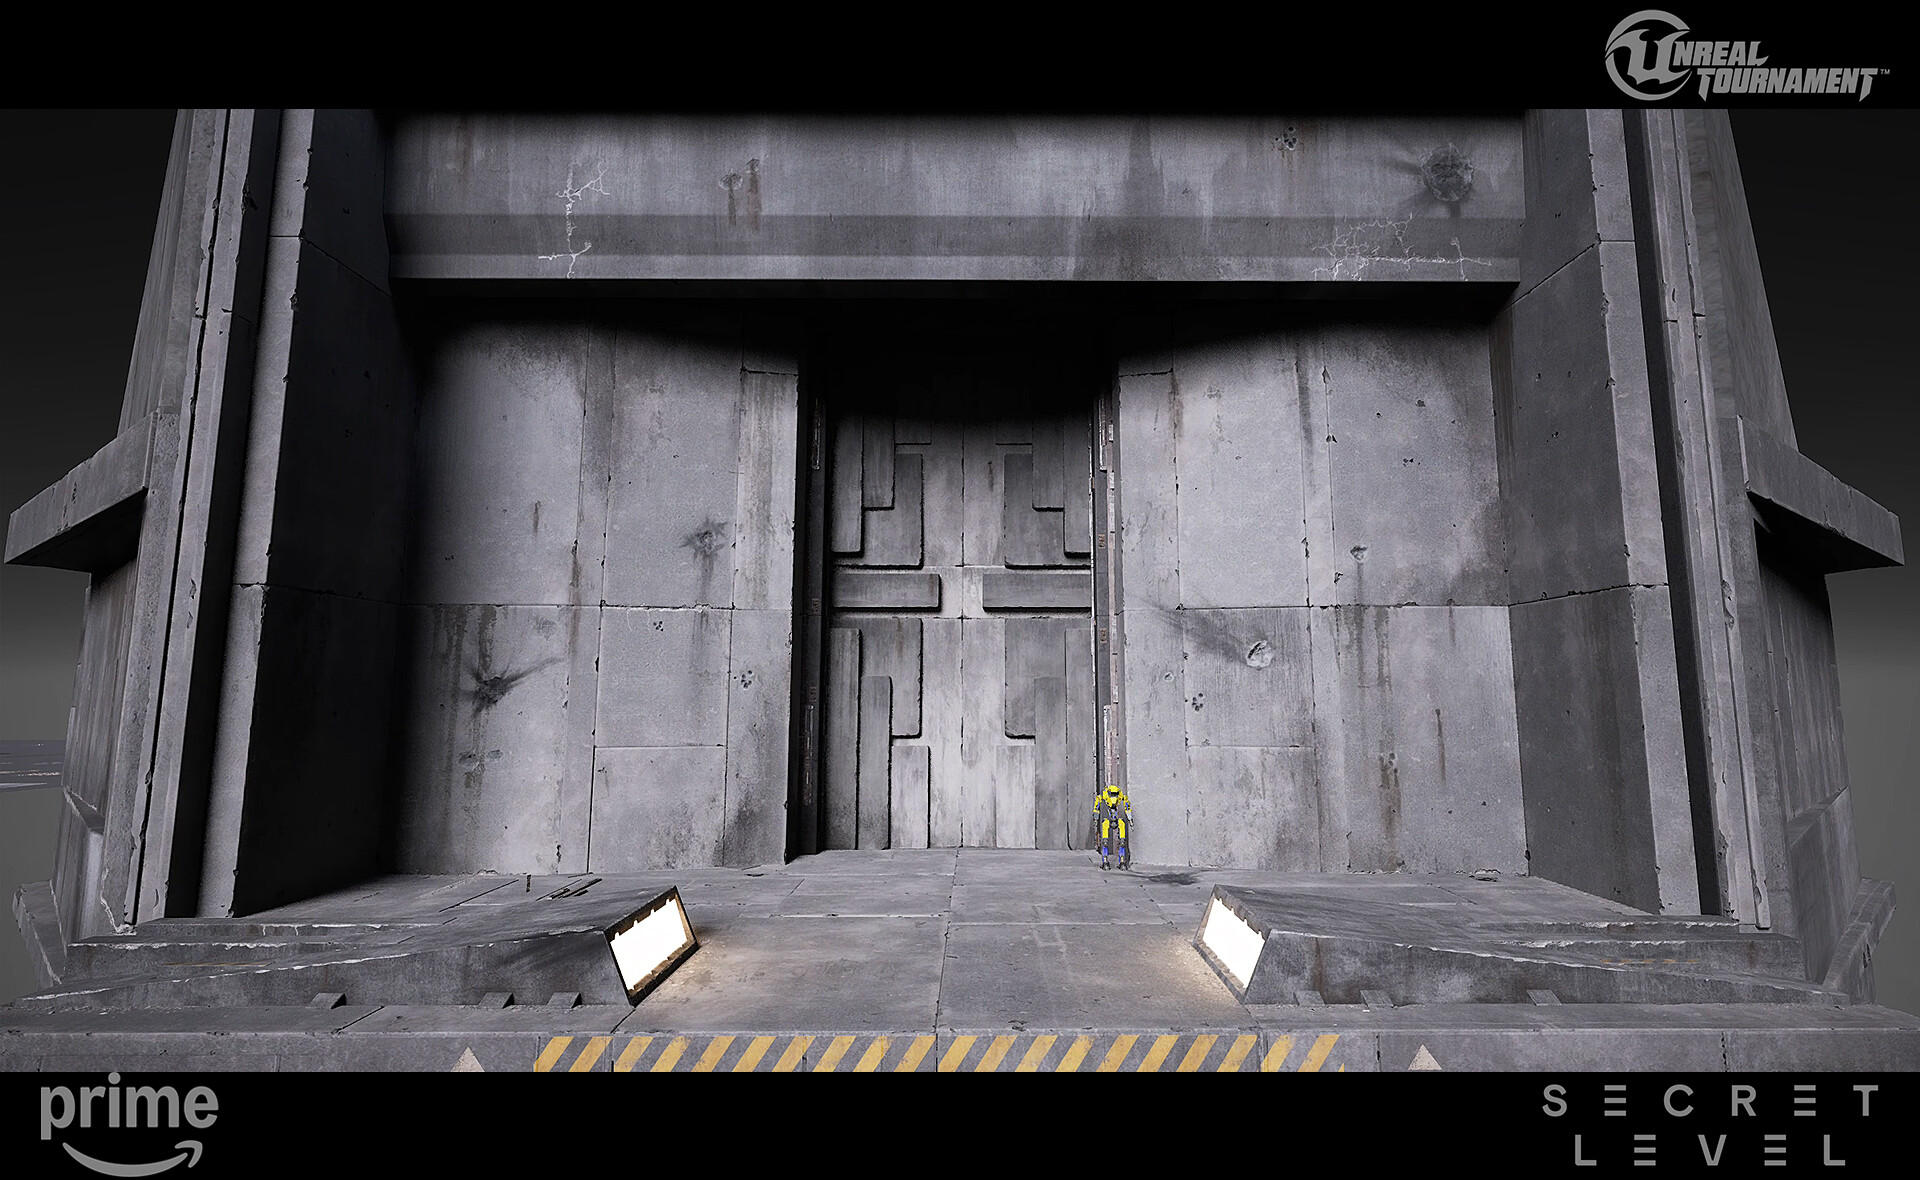
I was responsible for surfacing the Arena entrance, along with some modeling and set dressing fixes, and the design of the main door.

Surfacing was achieved using multiple triplanar blend shaders, along with a insane amount of hand-placed decals. My goal was to convey the scale of the structure, as well as the fact that it's constantly being blasted by stray projectiles from the arena.


One of my very first tasks was building the arena ground before it transforms into KoosBarge. All the blocks were individual pieces of geometry that were later grouped together to make animation easier.
Simple but very handy PCG that generated leakage decals along the spline, it helped cover a large area of the arena fairly quickly adding visual complexity and scale references. This helped me surface pretty much entire arena
Similar PCG, but this one adds bullet marks over an area. Again, fairly simple, but highly effective for quickly enhancing the environment with details.
I created a simple local fog volume material, which we used in several instances where we needed highly controlled fog density in specific areas for artistic direction.

Lastly, decals that only project roughness and normal are often overlooked but provide an elegant and effective way to add roughness break-up and additional high-frequency details.